


So far in this series, we’ve looked at how to use Fabric for collecting data, feature engineering, and training models.
But now that we have our shiny new models, what do we do with them? How do we keep track of them, and how do we use them to make predictions? This is where MLFlow’s Model Registry comes in, or what Fabric calls an ML Model.
A model registry allows us to keep track of different versions of a model and their respective performances. This is especially useful in production scenarios, where we need to deploy a specific version of a model for inference.
A Model Registry can be seen as source control for ML Models. Fundamentally, each version represents a distinct set of model files. These files contain the model’s architecture, its trained weights, as well as any other files necessary to load the model and use it.
In this post, we’ll discuss how to log models and how to use the model registry to keep track of different versions of a model. We’ll also discuss how to load a model from the registry and use it to make predictions.
Registering a Model#
There are two ways to register a model in Fabric: via code or via the UI. Let’s look at both.
Registering a Model using code#
In the previous post we looked at creating experiments and logging runs with different configurations. Logging or registering a model can be done using code within a run. To do that, we just have to add a couple of lines of code.
# Start the training job with `start_run()`
with mlflow.start_run(run_name="logging_a_model") as run:
  # Previous code...
  # Train model
  # Log metrics

  # Calculate predictions for training set
  predictions = model.predict(X_train_scaled_df)

  # Create Signature
  # Signature required for model loading later on
  signature = infer_signature(np.array(X_train_scaled_df), predictions)

  # Model File Name
  model_file_name = model_name + "_file"

  # Log model
  mlflow.tensorflow.log_model(best_model, model_file_name, signature=signature)

  # Get model URI
  model_uri = f"runs:/{run.info.run_id}/{model_file_name}"

  # Register Model
  result = mlflow.register_model(model_uri, model_name)
In this code snippet, we first calculate the predictions for the training set. Then create a signature, which is essentially the input and output shape of the model. This is necessary to ensure that the model can be loaded later on.
MLFlow has functions to log models made with different commonly used packages, such as TensorFlow, PyTorch, and scikit-learn. When mlflow.tensorflow.log_model is used, a folder is saved, as an artifact, attached to the run, containing the files needed to load and run the model. In these files, the architecture along with with trained weights of the model and any other configuration necessary for reconstruction are found. This makes it possible to load the model later, either to do inference, fine-tune it, or any other regular model operations without having to re-run the original code that created it.
The model’s URI is used as a “path” to the model file, and is made up of the run ID and the name of the file used for the model. Once we have the model’s URI, we can register a ML Model, using the model’s URI.
What’s neat about this is that if a model with the same name already exists, a new version is added. That way we can keep track of different versions of the same model, and see how they perform without having overly complex code to manage this.
In our previous post, we ran three experiments, one for each model architecture being tested with three different learning rates. For each model architecture, an ML Model was created, and for each learning rate, a version was saved. In total we now have 9 versions to choose from, each with a different architecture and learning rate.
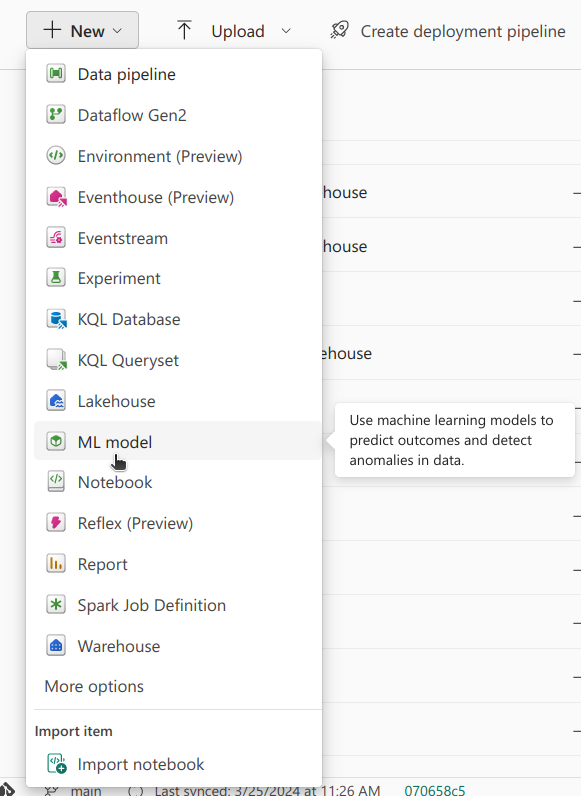
Registering a Model using the UI#
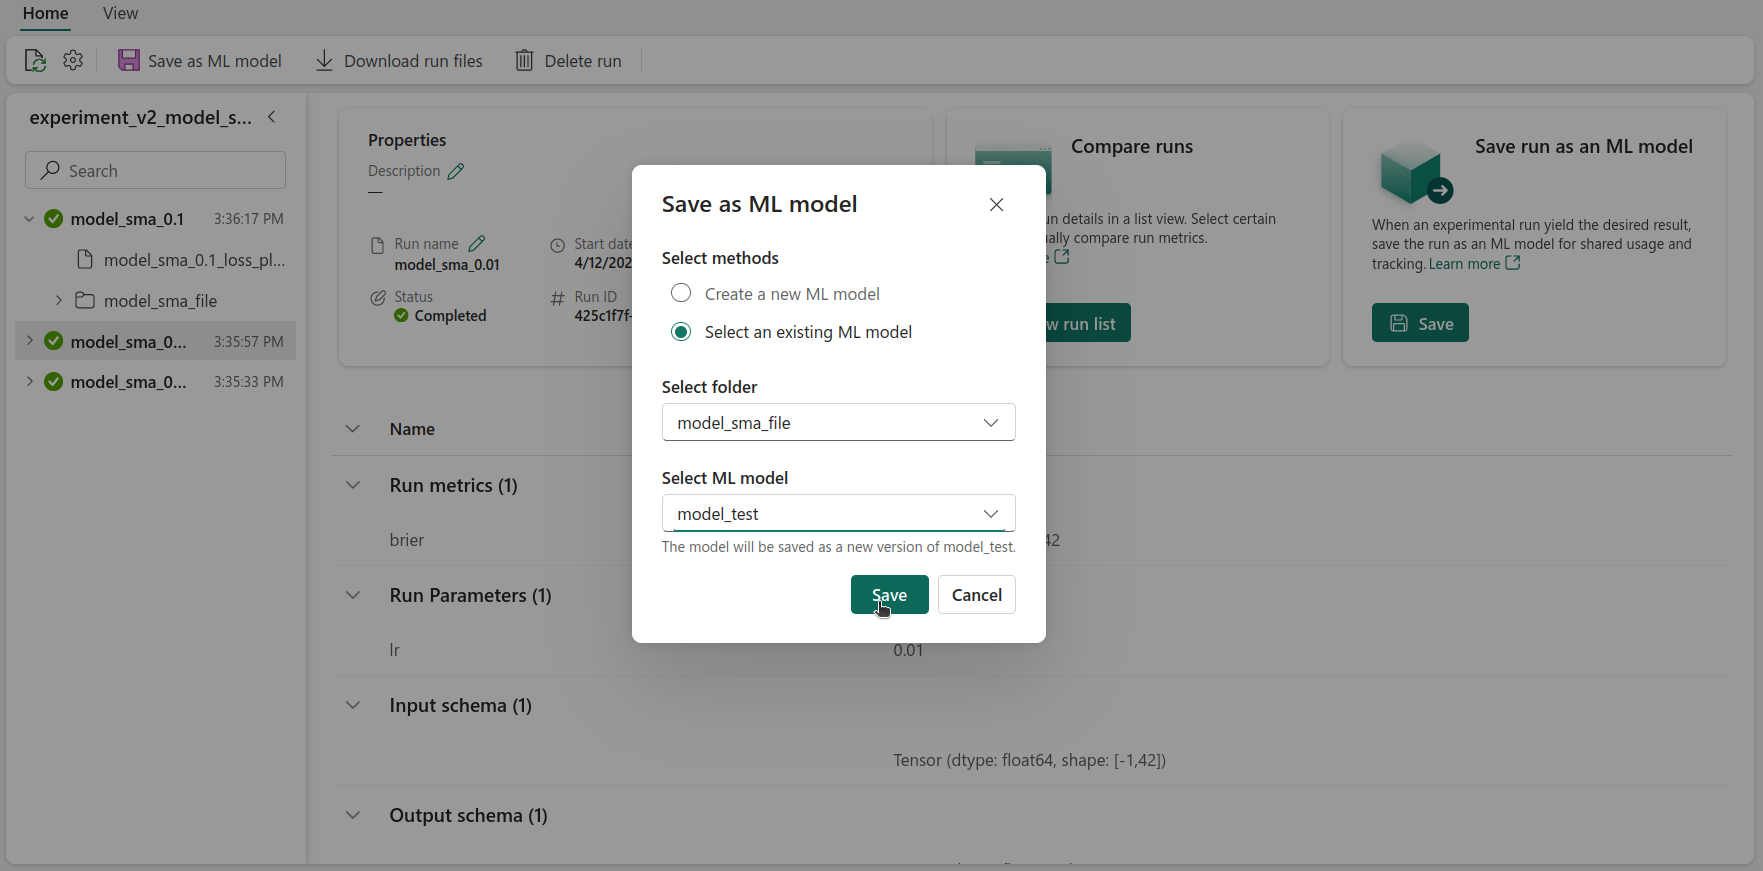
An ML Model can also be registered via Fabric’s UI. Model versions can be imported from the experiments that have been created.
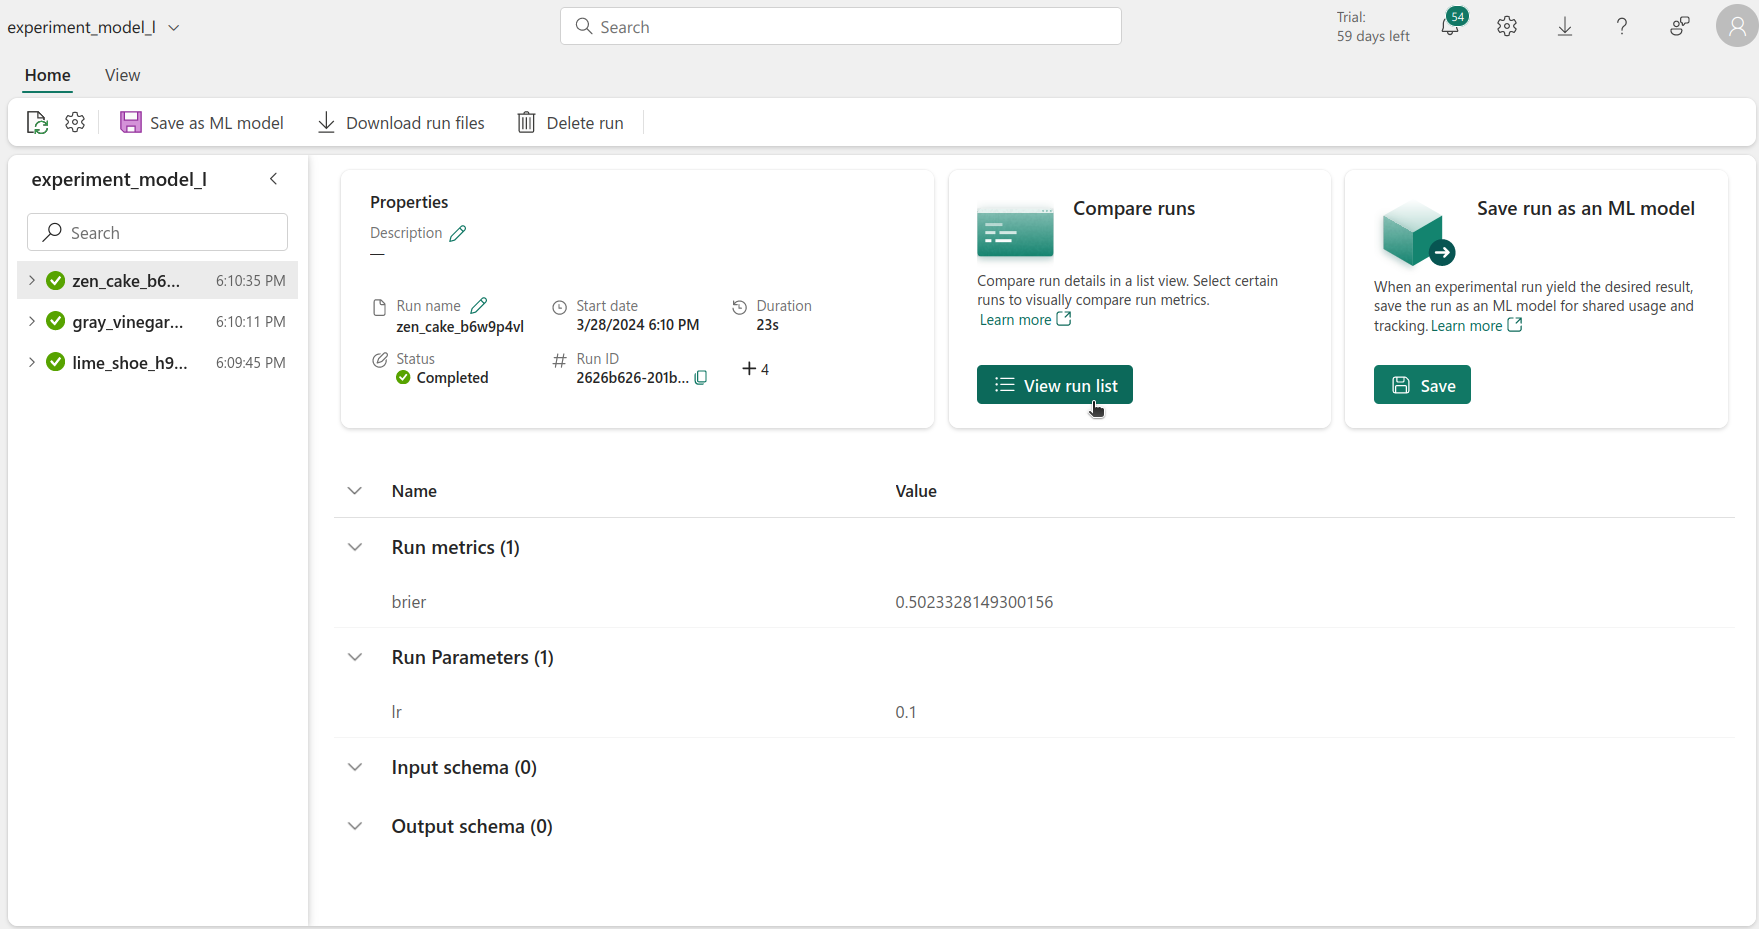
After creating an ML Model, we can import a model from an existing experiment. To do that, in a run, we have to select Save in the Save run as an ML Model section.
Selecting Best Model#
Now that we have registered all of the models, we can select the best one. This can be done either via the UI or code. This can be done by opening each experiment, selecting the list view, and selecting all of the available runs. After finding the best run, we would have to check which model and version that would be.
Alternatively, it can also be done via code, by getting all of the versions of all of the ML Models performance, and selecting the version with the best score.
from mlflow.tracking import MlflowClient

client = MlflowClient()

mlmodel_names = list(model_dict.keys())
best_score = 2
metric_name = "brier"
best_model = {"model_name": "", "model_version": -1}

for mlmodel in mlmodel_names:

	model_versions = client.search_model_versions(filter_string=f"name = '{mlmodel}'")

	for version in model_versions:

		# Get metric history for Brier score and run ID
		metric_history = client.get_metric_history(run_id=version.run_id,
		                                           key=metric_name)

		# If score better than best score, save model name and version
		if metric_history:
			last_value = metric_history[-1].value
			if last_value < best_score:
				best_model["model_name"] = mlmodel
				best_model["model_version"] = version.version
				best_score = last_value
		else:
			continue
In this code snippet, we get a list of all of the available ML Models. Then, we iterate over this list and get all of the available versions of each ML Model.
Getting a list of the versions of an ML Model can be done using the following line:
model_versions = client.search_model_versions(filter_string=f"name = '{mlmodel}'")Then, for each version, we simply have to get its metric history. That can be done with the following line:
metric_history = client.get_metric_history(run_id=version.run_id,
		                                       key=metric_name)
After that, we simply have to keep track of the best performing version. At the end of this, we had found the best performing model overall, regardless of architecture and hyperparameters.
Loading the Best Model#
After finding the best model, using it to get the final predictions can be done using the following code snippet:
# Load the best model
loaded_best_model = mlflow.pyfunc.load_model(f"models:/{best_model['model_name']}/{best_model['model_version'].version}")

# Evaluate the best model
final_brier_score = evaluate_model(loaded_best_model, X_test_scaled_df, y_test)
print(f"Best final Brier score: {final_brier_score}")
Loading the model can be done using mlflow.pyfunc.load_model(), and the only argument that is needed is the model’s path. The path of the model is made up of its name and version, in a models:/[model name]/[version] format. After that, we just have to make sure that the input is the same shape and the features are in the same order as when it was trained - and that’s it!
Using the test set, we calculated the final Brier Score, 0.20.
Conclusion#
In this post we discussed the ideas behind a model registry, and why it’s beneficial to use one. We showed how Fabric’s model registry can be used, through the ML Model tool, either via the UI or code. Finally, we looked at loading a model from the registry, to do inference.
This concludes our Fabric series. We hope you enjoyed it and that you learned something new. If you have any questions or comments, feel free to reach out to us. We’d love to hear from you! 👋